In this tutorial, we will tell you how to edit a vector SVG file using the free online graphic editor Figma.
Editor preparation
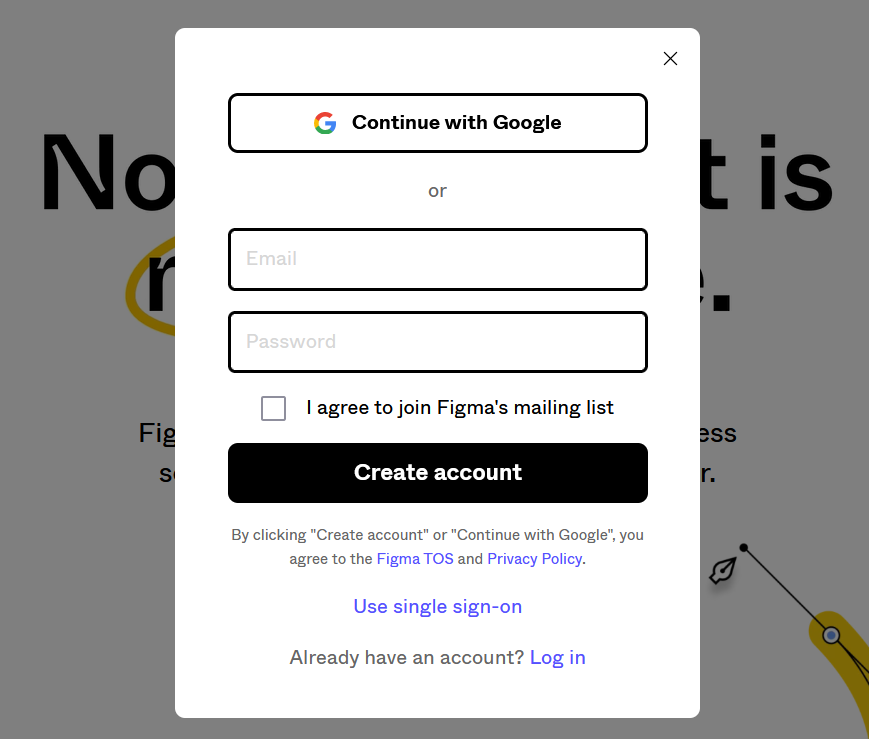
- Go to figma.com
- Log in to the site. This can be done using a Google account, or register a new account by entering an email.
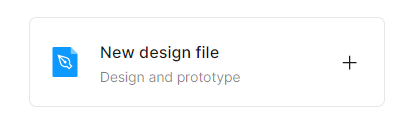
In the figma panel, click on the “New design file” button. An editor box will open.
How to open a file for editing
There are two ways to open a file for editing:
- Just drag the file from your folder into the figma editor window.
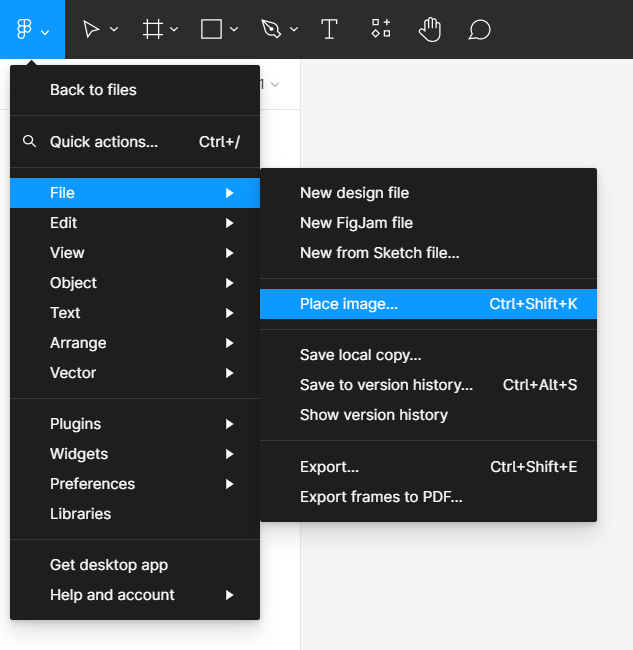
- Through the main menu of figma. Click on the icon at the top left of the editor, then click “File”, and then “Place image”. After that, a window for selecting a file will be displayed.
If it’s a vector SVG file, it will open with all layers and settings, ready for editing.
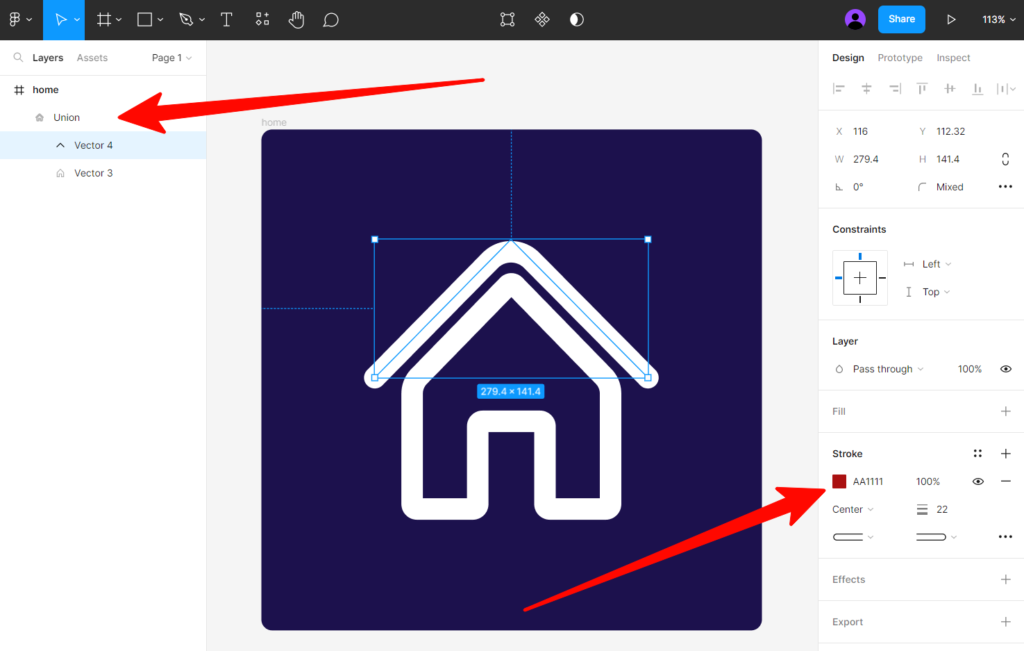
How to change icon color
- Select the object you want to change color.
- On the right side of the editor, select a new color from the “Fill” or “Stroke” section, “Design” tab.

Sometimes, you need to “Double click” on an object to get the properties you need.
Better use the left layer menu to select the object.
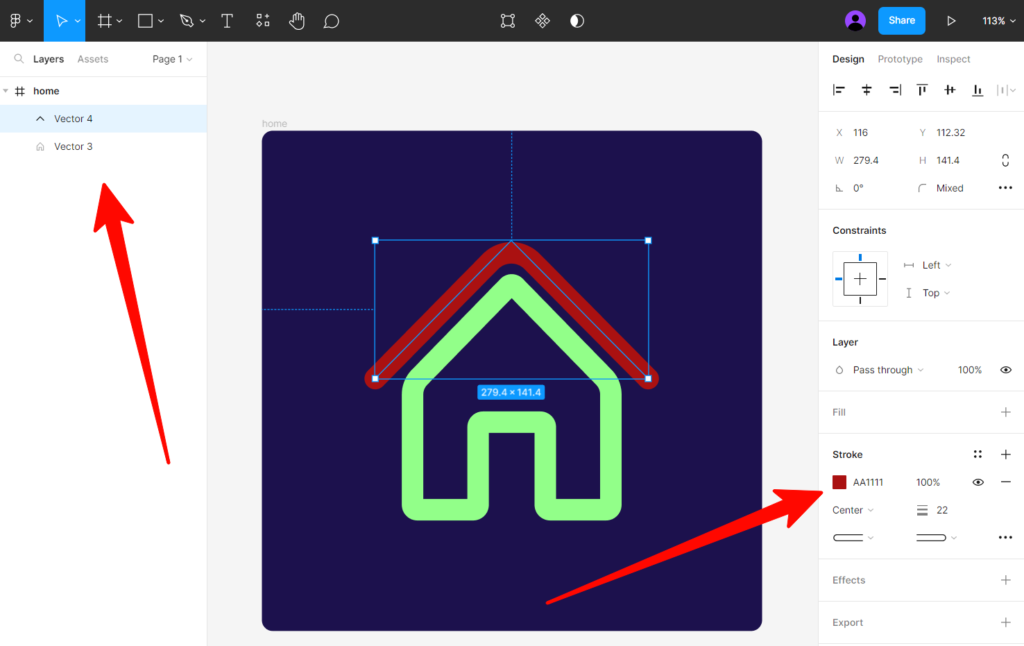
If the colors in the “Fill” and “Stroke” sections do not match the colors of the object. Perhaps the objects are in a group and take on a common group color.
Disband the group. Find the desired group in the layers (panel on the left side), right-click on it and select “Ungroup”.

The result of the disbanded group. Objects are independent of each other.
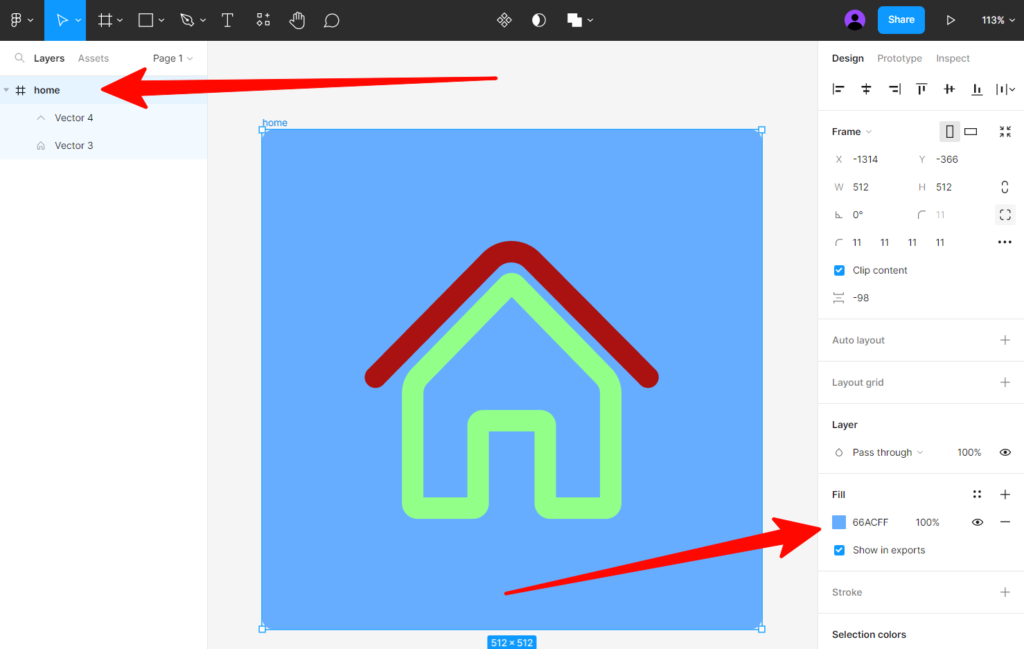
To change the background, select the top layer.
How to resize an object
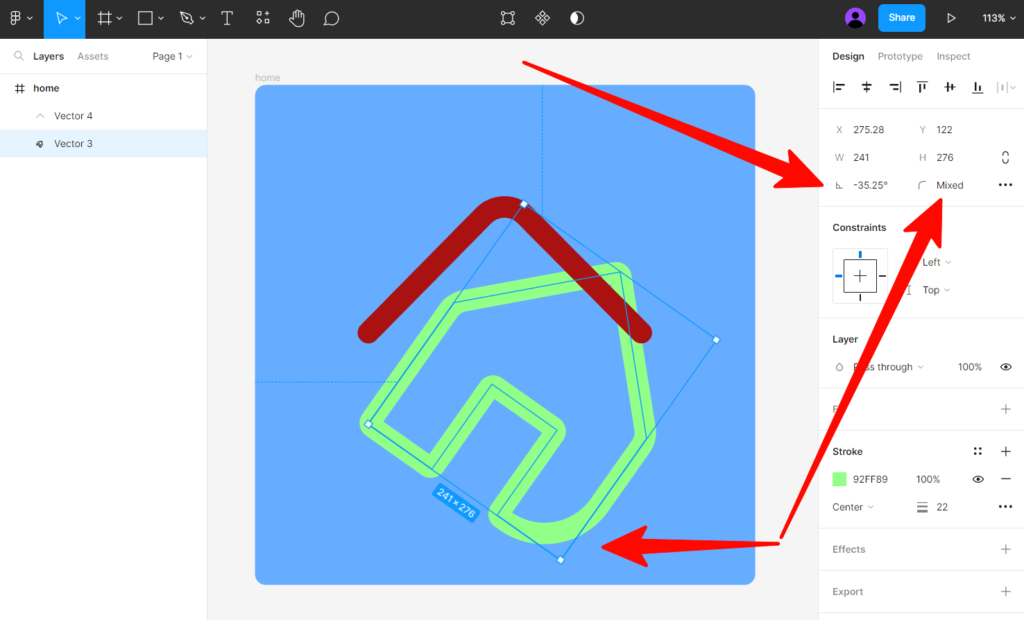
- Select the object you want to change.
- Drag the corners of the object to resize it.
- For more extensive changes, on the right side of the editor, use the advanced options in the “Group” section, “Design” tab.
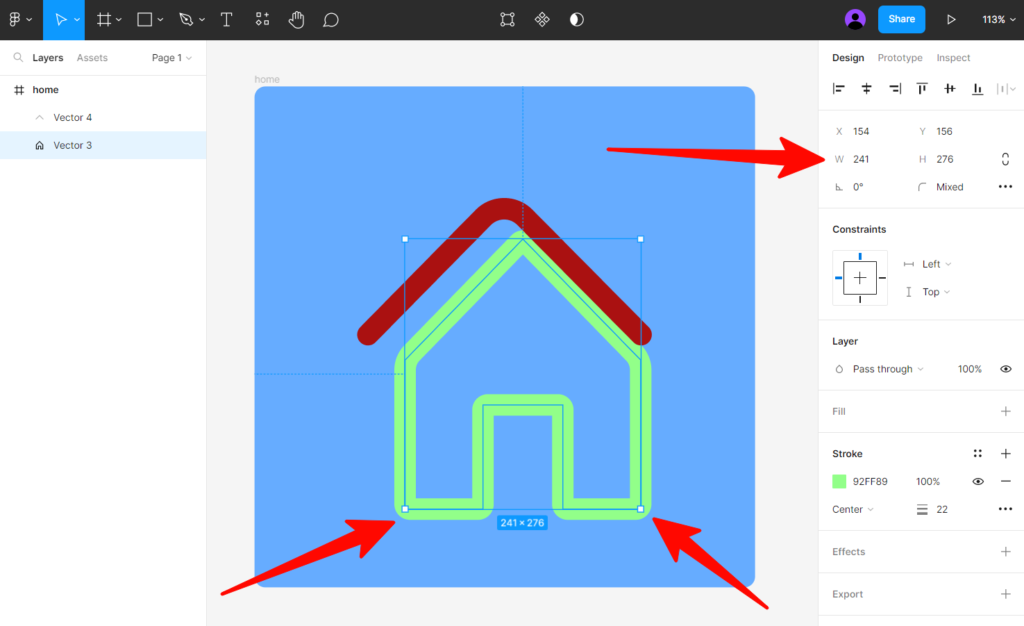
In the “Group” section, you can change the location, corner of the object, set the radius of the corners, as well as control the indents if several objects are selected.
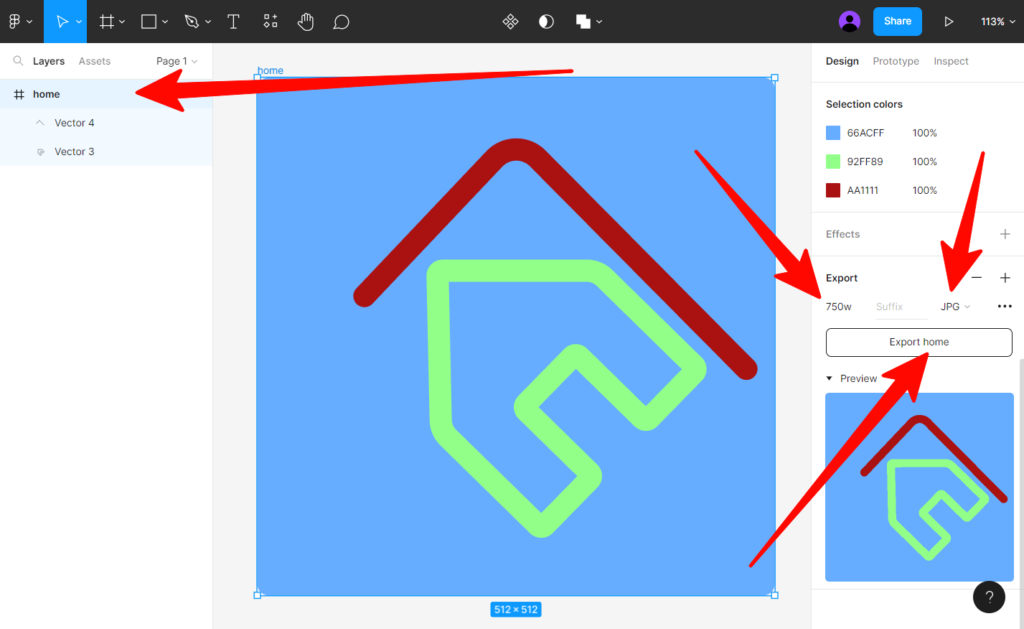
How to save the file in the right size
- Select the desired object to save.
- On the right side of the editor, in the “Export” section, select the file extension in which you want to save. There are extensions to choose from – PNG, JPG, SVG, PDF.
- In the first parameter of the “Export” section, specify the size of the file. The “1x” option will save the file with the current dimensions, which are specified in the “Group” section. If you specify “2x”, the file will be saved at twice the current resolution.
- If you need to save in your own dimensions (for example, 750 px wide), specify “750w” and the editor will save the file 750px wide with aspect ratio. Or specify “800h” and the editor will save the file based on the height.
- Click on the “Export (name)” button, and the editor will save the file in the size you need.